
Scheduling new jobs
Last updated:
In March 2026 we began simplifying how you create jobs.
- You can now create both one-off and repeating jobs from a single unified form.
- We’ve also introduced a new “Repeats” dropdown so you can choose common repeating schedules (like “Repeats every 2 weeks”) in one form field.
- If you need more advanced repeating options, choose “Custom” and set interval, frequency, and an optional ending date. A “job” is where you send an employee out on a job to a customer’s property. Below we describe the different types of jobs you can create and where you can create them.
Need to block time that isn’t tied to a customer property (toolbox talks, meetings, lunch, errands)? Use a note instead.
For each site you’ll want to add one or more jobs. You can create:
- Repeating jobs – In landscape maintenance businesses, most of your jobs will likely be repeating jobs.
- One-off jobs (for example add a job for 345 Wattle Dr only when you are called and asked to come).
Where to create a job
Section titled “Where to create a job”You do not need to add the property first. The usual way to put an address on a run is to add the job from the schedule and create the property in that form.
- Open Schedule.
- On the job run for that day, click Add… and choose Job. If that day has no run yet, click Add job run first. You can also use + in the top bar and choose Job.
- In Property, search for the address. If it is not there, click Create new property.
- Enter the service contact name and address, then click Create.
- Fill in the job details (due date, repeats, work required, price) and click Create.
The new property is saved as part of creating the job, and the job lands on that run.
You can still add a property from Properties first if you want the customer on file before you schedule anything. See Adding a customer.
Repeating jobs
Section titled “Repeating jobs”Repeating job example
Let’s say you have a contract with Mary at 457 Waratah Rd to do garden maintenance every two weeks (26 jobs per year) at a price of $100/visit ($2,600 per year). Since we do other jobs in Mary’s area on Monday, we tell Mary we’ll come every two weeks on Mondays.
To add a repeating job at 457 Waratah Rd:
- Go to the site we’ve created for 457 Waratah Rd.
- In the upper right hand corner, click the the “Add job” button.
- In the form, add a due date for the first job. For example, 2nd of November.
- In the “Repeats dropdown, choose a repeating option (not Never):
- Daily - schedules the job every day.
- Every week - Schedules the job every week.
- Every 2 weeks - Schedules the job every two weeks (fortnightly).
- Monthly on the date - Repeats on the same date each month. The label updates to match your selected due date. For example, if the due date is the 19th, you’ll see “Monthly on the 19th.”
- Nth weekday of month - Repeats on the same weekday pattern each month. The label also updates from your due date to show the weekday pattern. For example, if the due date falls on the 3rd Thursday, you’ll see “3rd Thursday of the month.”
- Seasonal schedule (if available) - Use a seasonal schedule when your job frequency changes across the year. For example, more frequent jobs in summer and less frequent jobs in winter.
- Custom - Use Custom if the preset options don’t fit your needs. You can then choose:
- Repeat interval (Daily, Weekly, Monthly, etc.)
- Every frequency (for example, every 2 weeks)
- optional Ending date
- Add general job instructions that all staff should be aware of when they visit that property. For example, “beware of dog” or “clean by the pool area”. Note – setting or changing this field will update it for all jobs for this property.
- Enter work required which tells staff what they need to do on this particular repeating job. (Note – You can have multiple sets of repeating jobs for the same property each with different ‘work required.’ For example, you may have one repeating job for just lawn mowing and another repeating job for garden maintenance.)
- Set the job price and estimated time:
- Accounts created after October 2024: Set Estimated time (hours:minutes), which sits just above Invoice settings. In Invoice settings, turn on Requires invoicing. Add one or more Invoice items with the description, quantity, and price (for example, a $100 line item for garden maintenance). For hourly billing, tick Charge hourly based on time logged and set the hourly rate. SortScape adds an estimated hours line item from the estimated time automatically. See Setting estimated time and Setting the invoicing basis for a job.
- Older accounts: Optionally enter Est man hours and Est value. SortScape can calculate est value from hours multiplied by the hourly rate in job settings. See Setting the invoicing basis for a job (old).
- Click the “Create” button. Now SortScape will remind you every two weeks to send a crew out to 457 Waratah. You’ll find more details for how this works below.
When the frequency changes on a set date
Section titled “When the frequency changes on a set date”Some contracts change frequency partway through, for example weekly until the end of February, then every 2 weeks from March. Set this up as two repeating jobs on the same property, one for each period:
- Add the first repeating job. Set the due date to the first job of the contract (pick the actual day you will visit, such as the first Tuesday). In Repeats, choose Custom, set the interval and Every, then set Ending to the last day of the first period.
- Add a second repeating job. Set the due date to the first job of the new period. In Repeats, choose Custom, set the new interval and Every, and set Ending if the contract has an end date.
The Ending date on the first job is what stops it. Without it, the first series carries on into the second period and you get two jobs on the same days. The ending date is only available under Custom, so the preset options like Every week are not enough here.
For roughly one job a month, choose Custom with Weekly and Every 4 rather than a monthly option. Every 4 weeks keeps the job on the same weekday and fits a regular run, while monthly dates drift across the week. If the contract promises a set number of jobs, count the dates between the due date and Ending and move Ending earlier if there would be one too many (13 four-weekly jobs fit in a year, not 12).
If the change follows the seasons for many customers at once, a seasonal schedule may suit better. Seasons change when you switch them, not on a fixed date.
Editing repeating jobs
Section titled “Editing repeating jobs”When you create a repeating job, every job SortScape generates for that series starts with the same details.
When you later edit one of those jobs, some changes can stay on that job. Others always apply to the jobs after it. Past jobs are not changed. Completed and skipped jobs are not changed either.
To change estimated time, work required, invoice items, tags, or similar details on one job only, see Update one job in a repeating series.
Due date, Repeats, Ending and Crew always apply to the current job and the jobs after it. See What always updates the series. You can swap the crew but not clear it; see Can I remove the crew from a job?. Dragging a job on the schedule works differently. See Rescheduling jobs in SortScape.
If you need different kinds of work at the same property on a regular basis (for example lawn mowing and garden maintenance), create separate repeating jobs. A one-job change is for a single date, not a second schedule.
General job instructions (on the property) are different: they apply to all jobs at that property, not just one repeating series.
Stop a repeating job
Section titled “Stop a repeating job”There is no “turn off repeats” switch on a job that already repeats. Never only appears in the Repeats dropdown when you create a job. To stop an existing series, give it an end date:
- Open the first job you no longer want and click Edit.
- In the Repeats dropdown, choose Custom….
- Set Ending to the date of the last job you want to keep. To make this job the last one, use its own date.
- Click Update.
SortScape removes the open jobs after the ending date. Jobs already completed or skipped stay in the property history.
Use this when a customer is stopping the service but you want to keep their past jobs. If you also want this job gone, delete it instead (see below).
Deleting a repeating job deletes the current job and all following jobs in the series. A linked quote is not deleted.
If the series was rescheduled from a later date (for example you moved a job and applied the move to future jobs), the later jobs belong to a separate part of the series. SortScape asks what to delete: This job and the next … leaves the jobs that were rescheduled separately on the schedule, and All upcoming jobs removes them too. Choose All upcoming jobs if the customer has stopped the service. See Quotes stay after you delete jobs.
After you delete a repeating job, empty job-run columns stay on the schedule until you delete them. To remove one, open the job run … menu and click Delete job run. See What happens when I delete a jobrun?. Do not use Clear schedule for this.
Prefer Skip when a customer cancels a single job. Use Delete only when they are ending the service; deleted jobs do not stay in the property history.
For one-off changes when moving jobs on the schedule (without updating the whole series), see Moving repeating jobs and understanding end dates.
One-off jobs
Section titled “One-off jobs”One-off job example
Now let’s say you get a call from Steve at 345 Wattle Dr asking you to come out and give the garden a trim. You don’t have a contract with Steve… you only add a job whenever he calls.
For Steve you would:
- Go to the site for 345 Wattle Dr.
- In the upper right hand corner, click the “add job” button.
- In the form that appears, enter a due date for the job. For example, 5th of November.
- In the “Repeats**”** dropdown, choose Never.
- Optionally tick the “Keep in unscheduled jobs?” box if you don’t want to automatically add the job to the schedule.
- Set the job price and estimated time using Invoice items (accounts created after October 2024) or Est man hours and Est value (older accounts). See step 7 in Repeating jobs above for details.
- Add general job instructions that all staff should be aware of when they visit that property. For example, “beware of dog” or “clean by the pool area”. Note – setting or changing this field will update it for all jobs for this property.
- Enter work required which tells staff what they need to do on this particular job.
- Click the “Create” button. Important Note: Jobs left in the ‘unscheduled jobs’ column and marked complete may no longer appear if they were not dragged onto the schedule beforehand. Always ensure unscheduled jobs are assigned to a day before marking them complete.
Now SortScape will remind you to send a crew out to 345 Wattle Dr on the 5th of November. You’ll find more details for how this works below.
You can turn an existing one-off job into a repeating job later, so there’s no need to recreate it. Open the job, click the ⋯ menu, choose Convert to repeating, pick a schedule in Repeats and save. That job becomes the first job in the series. See Can I convert a one-off job into a repeating job? for screenshots.
Setting estimated time
Section titled “Setting estimated time”Use Estimated time (hours:minutes) when you create or edit a job or note. SortScape uses this for schedule hour totals, Smart ETAs, and time-and-materials line items when Charge hourly based on time logged is enabled.
To change it on an existing job, open the job and click Edit. If you don’t see an Edit button, it’s in the ⋯ menu. On a repeating job, Update asks whether the new time applies to this job only or to later jobs as well. See Update one job in a repeating series.
On the job form (and on notes), you will see a time field with a Presets dropdown and - / + buttons:
- Open Presets and pick the duration that is closest to what you need.
- Use - and + to fine-tune from there until the displayed time is right.
The field is shown as hours and minutes (for example 8:00 for eight hours, or 1:30 for one hour thirty minutes). You do not type into the field directly.
If you need a value that is not in the preset list, choose the closest preset and adjust with - and +. When you open a job that already has a less common duration, that value is added to the preset list for that job.
Jobs with a start and end time
Section titled “Jobs with a start and end time”If a job has a start and end time, SortScape works out the estimated time from those times. You can’t change the estimated time directly, and the form shows “Duration is calculated from start and end times”. To change how long the job takes, change the end time (on Calendar view you can also drag the bottom edge of the job). To set the estimated time yourself instead, tick Any time.
Accounts created before October 2024 see Est man hours as a decimal hour field instead (for example 1.5 for ninety minutes). See Setting the invoicing basis for a job (old).
Seeing estimated values on the schedule
Section titled “Seeing estimated values on the schedule”After you set a price on a job (via Invoice items or Est value), SortScape uses that job total in the schedule Value column. Job cards on the schedule show the address, estimated time, and other job details. They do not show a dollar amount on the card itself.
To check or change the price for one job, open the job from the schedule or from the property’s job list.
At the bottom of the schedule you will see Total for the day, Total for the week, or Total for the month (depending on your view). This panel shows:
- Time and Value for each crew (job run)
- A grand total row at the bottom
Skipped jobs are excluded from these totals.
Value works the same way Time does: open jobs use the estimate, completed jobs use what is on that job.
After you mark a job complete, the Value column uses the total of that job’s Invoice items (and actual hours for time-and-materials jobs). It does not switch to the invoice total. If you add extra charges only on the invoice, the schedule will still show the job total. Add extra line items on the job before invoicing. See How invoice items affect schedule totals.
If you do not see dollar amounts or the Value column, open Settings → Jobs → Job settings. Non-administrators need Show estimated job value to non-administrators? set to Yes before they can see estimated values or schedule totals. See Job settings for more detail.
For how the Time column is calculated (estimate vs actual), see How schedule hour totals work.
How schedule hour totals work
Section titled “How schedule hour totals work”On each job run, SortScape shows a total in hours and minutes (for example 2:35 hrs). That is hours:minutes, not a decimal. 2:35 hrs means 2 hours and 35 minutes.
The job run total adds one duration per job in the run (skipped jobs are excluded):
- Open jobs use the job’s estimated time
- Completed jobs use the actual time logged under Time spent (timer or manual hours), when day sheets / time tracking is enabled
So if one job is still open with a 1:00 estimate and 1:53 already logged, the run still counts 1:00 for that job until you mark it complete. After you complete it, the run total switches to the logged actual time.
That is why a job run total can differ from adding every Time spent entry while some jobs are still open.
The same estimate-vs-actual rule feeds the Time column in Total for the day / week / month at the bottom of the schedule.
Multi-day jobs
Section titled “Multi-day jobs”Some jobs, like a full garden clean-up or a landscaping project, take more than a day. You have two options:
- Create a repeating job: best when the project has a clear end date. Set the job to repeat daily, with an Ending date (under Custom) on the last day.
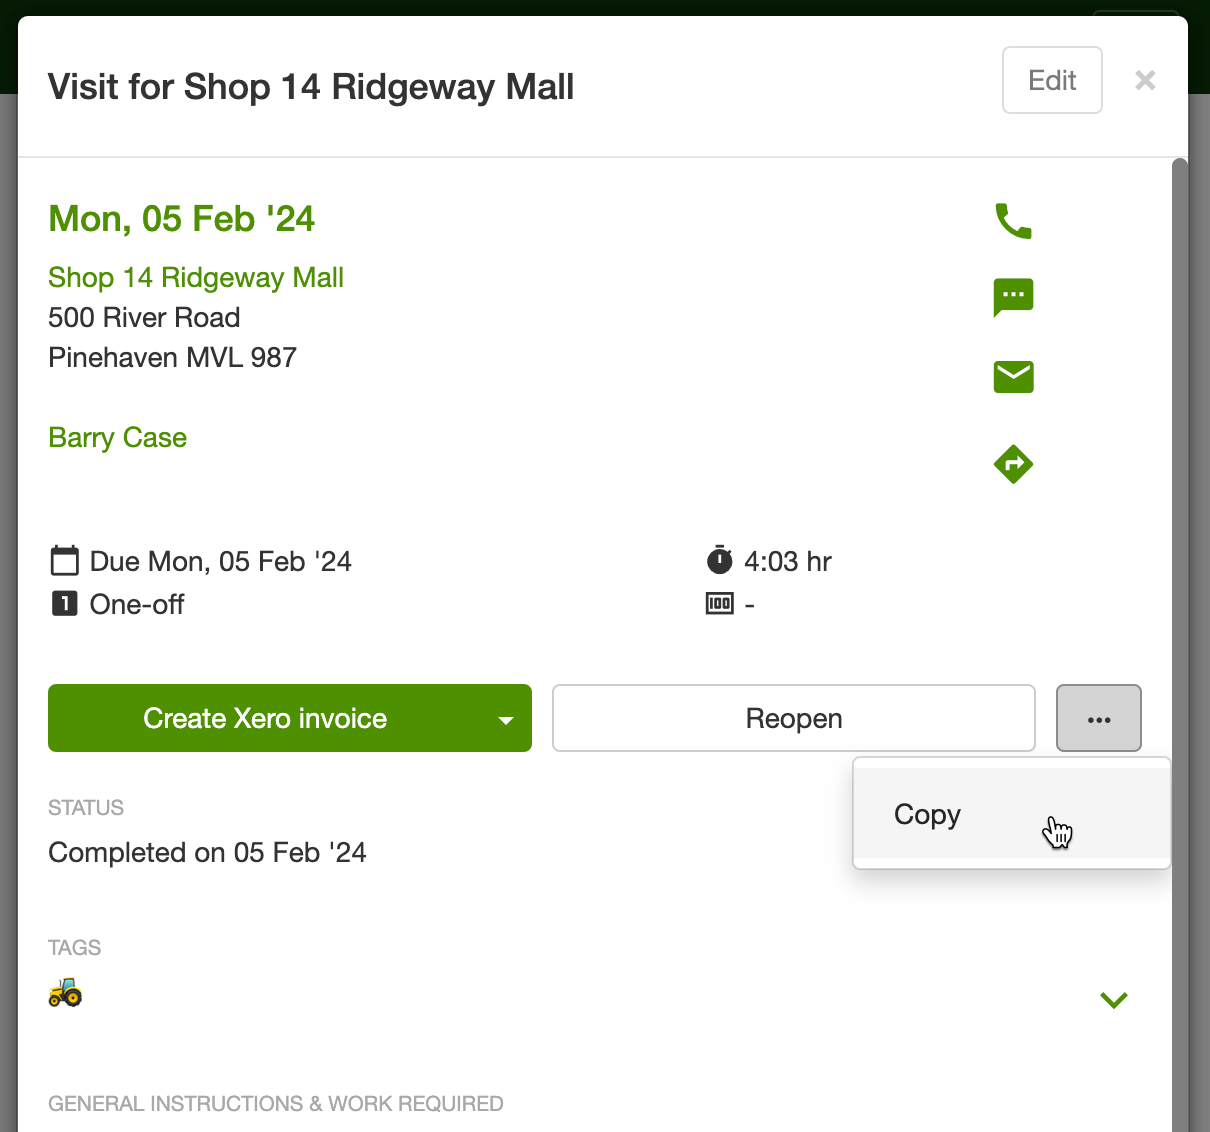
- Create multiple one-off jobs: best when you don’t know how long it will take. Create a one-off job for the first day, then copy it for each extra day as needed.
With one-off jobs, update each copy so the crew knows what that day is for:
- Change Work required to what is planned for that day.
- Change the estimated time to how long that day’s work should take. See Setting estimated time.
If you’re unsure about the project’s duration, start with a one-off job for the first day and copy it only when the work needs to continue. That way you don’t overcommit your schedule from the start.