

Mastering job tags: your guide to streamlined organization
Last updated:
Welcome to your guide to job tags in SortScape! What are job tags, you ask? They are your key to efficient organization and enhanced communication within your team. Job tags are simple, versatile labels that you can attach to each job in your schedule. They serve as visual cues to highlight essential details or categorize jobs based on various factors like location or equipment needed.
Adding job tags couldn’t be simpler. You can create them when adding a new job or while editing an existing one. Whether you’re using SortScape’s preloaded tags or crafting your own custom ones, these handy little tools will transform the way you organize and navigate your jobs. Read on to discover how to harness the power of job tags!
Where to manage tags
Section titled “Where to manage tags”To add, edit, rename, or delete job tags (including colors and emojis), open Settings → Jobs → Tags.
You can also assign tags while adding or editing a job on the schedule. Administrators can create new tags from the job editor without leaving the schedule.
Highlight key details of a job to employees
Section titled “Highlight key details of a job to employees”Use default tags
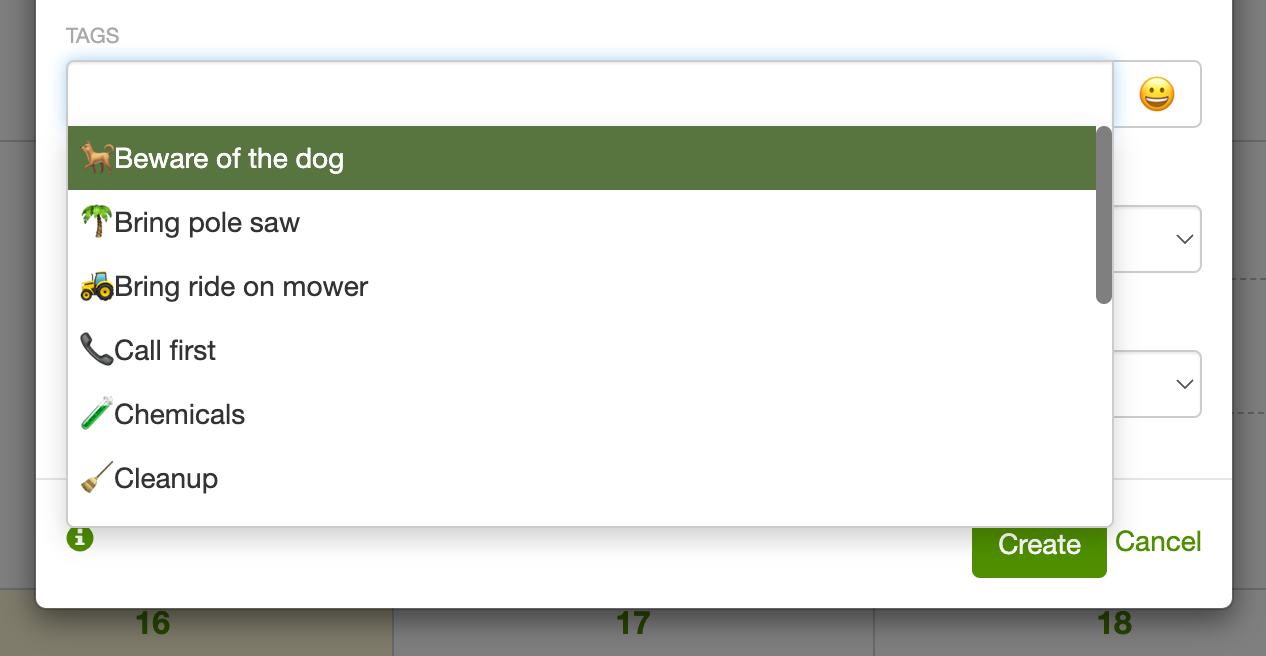
Section titled “Use default tags”SortScape comes preloaded with default job tags. These are here to help you hit the ground running, allowing you to tag jobs with important details right from the get-go.
Flag jobs where cash has to be collected
Section titled “Flag jobs where cash has to be collected”To remind your crew to collect payment on site, add a cash tag to those jobs. New accounts start with a 💵 tag described as Collect cash payment. If you don’t have one, create it under Settings → Jobs → Tags.
- Open the job and click Edit.
- Add the 💵 tag.
- Click Update. On a repeating job, if SortScape asks which jobs to update, choose This and all future jobs so later jobs in the series get the tag too.
The 💵 shows on the job card on the schedule (in Detailed view) and when your crew opens the job.
Create custom tags
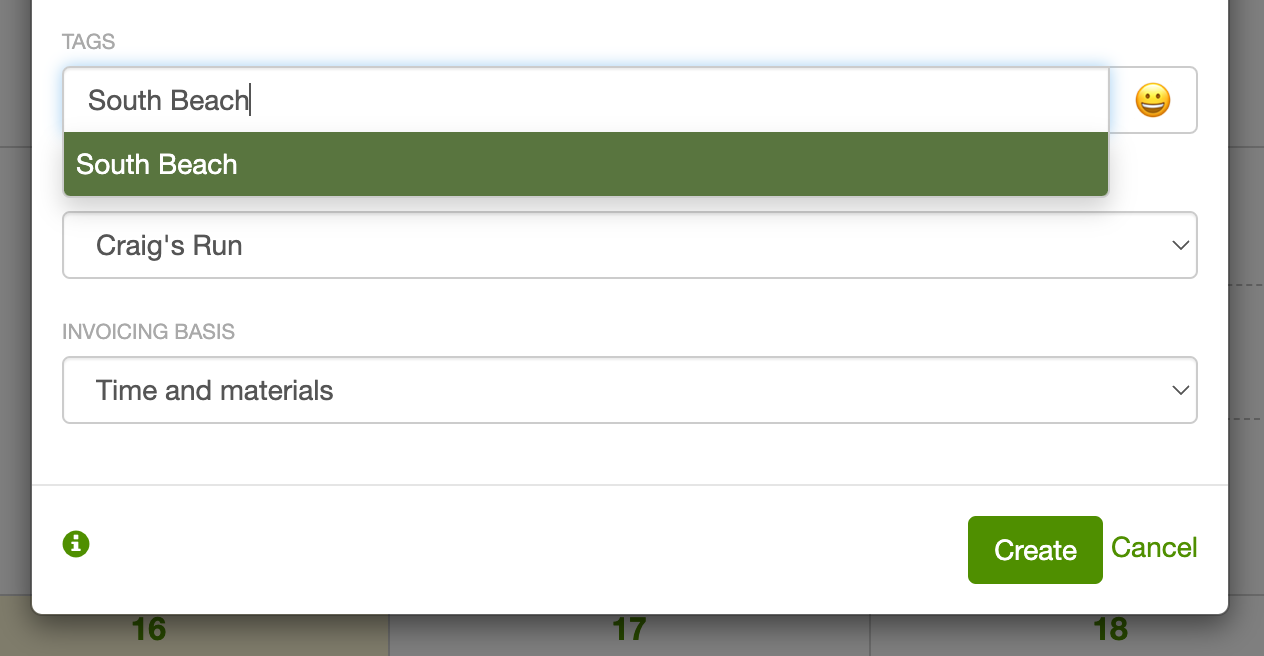
Section titled “Create custom tags”Want more flexibility? No worries! You can also create your own tags on the fly while editing a job. This gives you the power to add specific information that suits your unique needs.
Add colors and emojis
Section titled “Add colors and emojis”Take your tags to the next level by customizing them with colors or emojis under Settings → Jobs → Tags. This makes it much easier to extract important information from the schedule at a glance. But remember, moderation is key. You don’t want your schedule looking like a candy store exploded!
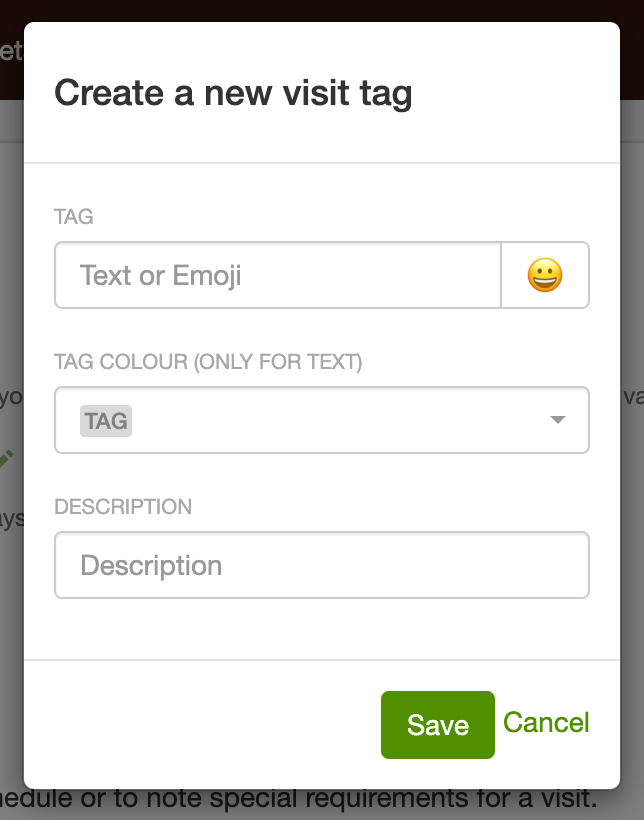
If you can’t find an exact match for what you’re trying to convey with an emoji, don’t fret. Just pick something related and create a fun “secret” language between you and your employees. For example, use a palm tree emoji (🌴) to indicate that a pole saw is required on the job for pruning tall shrubs or trees.
Where tags show on the schedule
Section titled “Where tags show on the schedule”Tags show on each job card on the day, week, and month schedule when View mode is set to Detailed. Compact hides them. To switch, see View mode: compact vs detailed.
Use tags to group jobs
Section titled “Use tags to group jobs”By route/location
Section titled “By route/location”Tags are also great for grouping jobs that are close to each other geographically. This allows you to reduce driving time and makes your day more efficient.
Here is an example of a schedule which has grouped jobs by a location tag. The first job run has all jobs for the “Rouse Hill” run and the second one is the “Kellyville” job run.
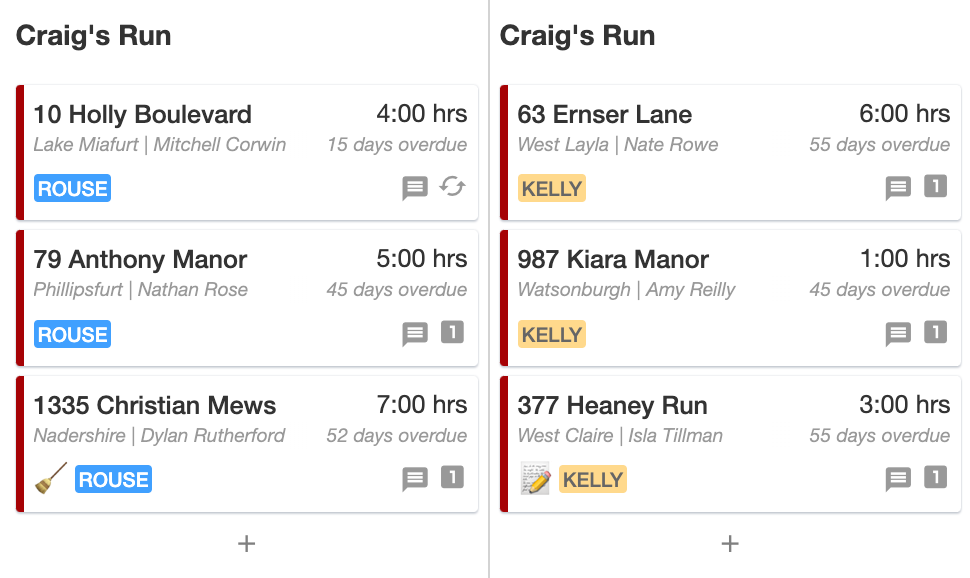
Tags label the area. They do not move jobs. To actually group those jobs onto the same job run, open schedule map view and use Change job run.
By service type
Section titled “By service type”A lot of companies running a maintenance business will offer multiple service like lawn mowing, gardening or cleaning. Sometimes these service are attended by different teams so it’s important to be able to distinguish the different service type when looking at the schedule.
By creating separate repeating jobs for each service type and then adding a job tag (“Lawns”, “Gardening”, “Spring Cleanup”, “Cleaning”, “Bin Service”) it’s very clear which job needs to be assigned to which crew.
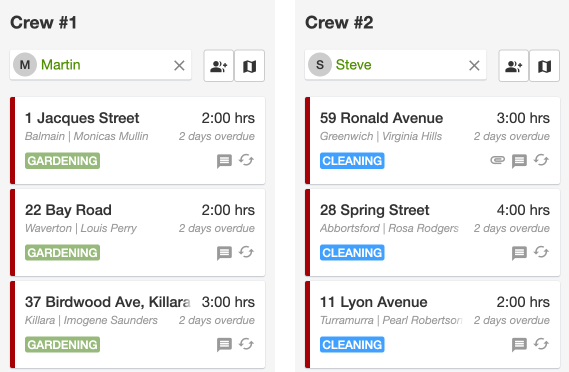
If you now assign those jobs to the right crews, you have a nice repeating schedule which makes it very clear which crews are working on which type of job.
By equipment required
Section titled “By equipment required”Need to ensure certain equipment is available for a series of jobs? No problem! Group all jobs that require a specific piece of equipment, like a ride-on mower, into the same job run. This way, you’re always prepared and can avoid any last-minute scrambles for equipment.
Filter the schedule by tags
Section titled “Filter the schedule by tags”You can show only the jobs that have certain tags. This works on the day, week, and month grid, and in the Unscheduled column.
On the scheduled days
Section titled “On the scheduled days”- Open Schedule.
- Click the magnifying glass in the schedule toolbar. The search field expands into a Filter box.
- Click the tag icon on the right of the box (Filter by tag).
- Pick the tags you want. They appear as chips in the box.
Typing in the Filter box searches other job details at the same time: contact name, property address, suburb, postcode, job title, and issue types. Selected tags and typed text both apply. If you pick more than one tag, a job must have every selected tag.
This toolbar filter only changes the jobs already on a day. It does not filter Unscheduled.
The filter only covers the day, week, or month you are looking at. To see every tagged job across a longer period, step through the months in month view.
On a phone or tablet
Section titled “On a phone or tablet”The magnifying glass only appears when the schedule is wide enough. On a phone, turn it sideways. On a phone in landscape or an iPad, if you still can’t see it, collapse the Unscheduled column to give the schedule more room. The three horizontal sliders icon is the Schedule display settings. It filters by employee, not by tag.
The Unscheduled list has a tag filter on a phone in portrait too. If you need to keep an eye on a group of jobs on the go (for example equipment to collect later), leave those jobs unscheduled with a due date and a tag, then open Unscheduled on the schedule and pick the tag in its Filter box. Schedule each job onto a day when you’re ready to do it.
In Unscheduled
Section titled “In Unscheduled”The Unscheduled column has its own Filter box with the same tag button. See Filter unscheduled jobs.