

Setting invoice numbers
Last updated:
Where you set an invoice number depends on where you are creating your invoices:
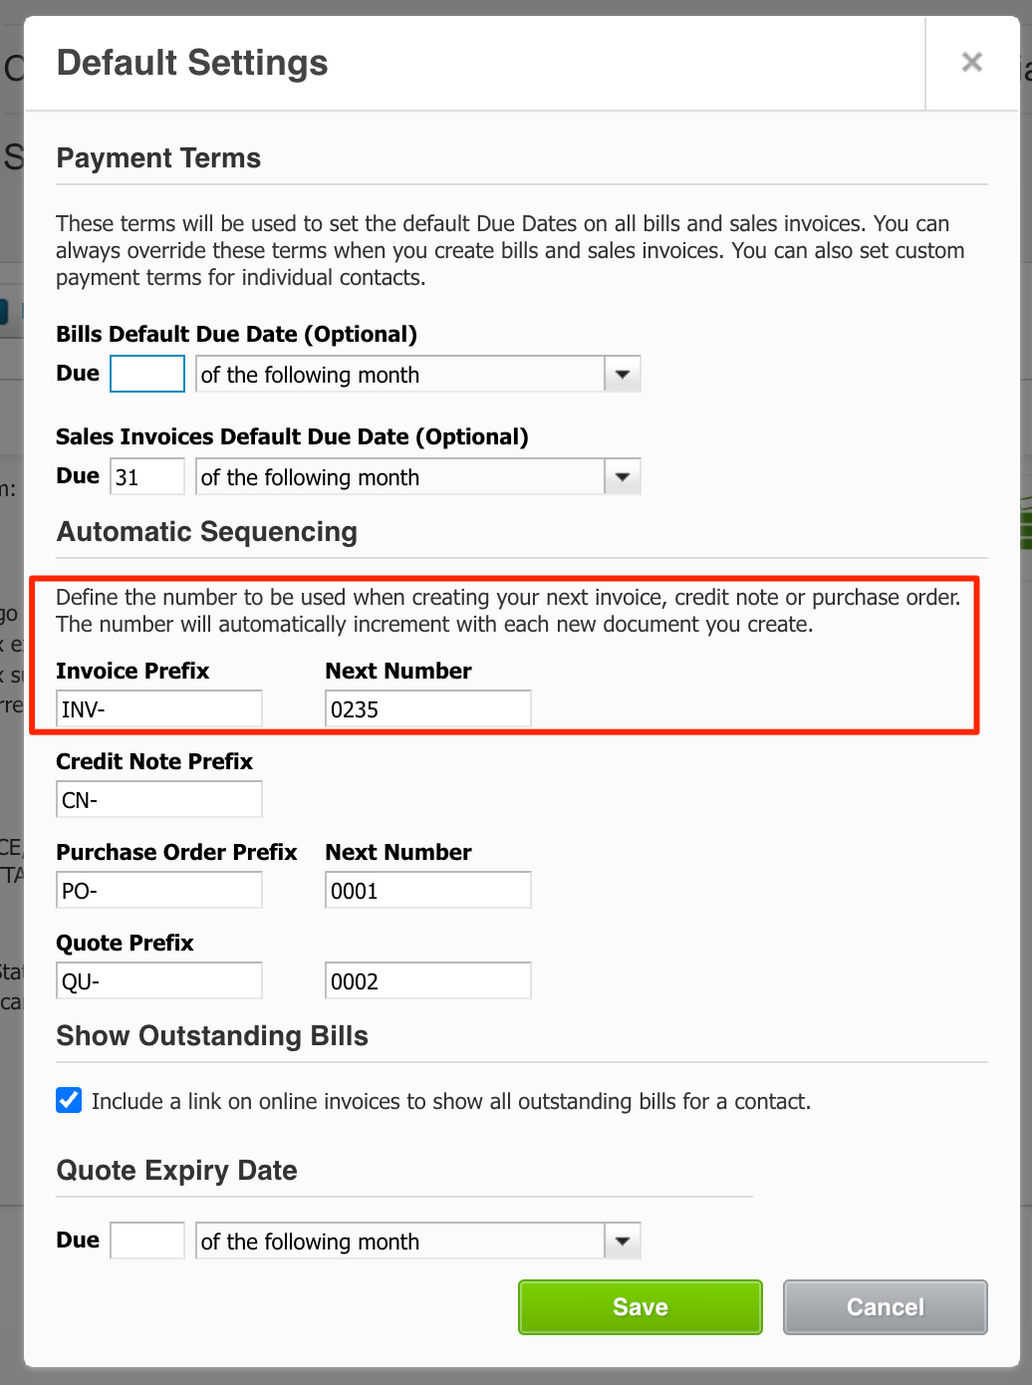
Invoice numbers are automatically assigned by Xero. When SortScape creates an invoice, Xero uses your organisation’s invoice numbering settings (prefix and next number) configured in Xero. To change this setting in Xero go to Xero’s Settings > Invoice Settings > Default Settings.
To change an invoice that already exists, including one that has been emailed, edit it in Xero. In SortScape, open Invoicing, select the Invoices tab, open the invoice, and click View in Xero. See Editing an invoice after it has been emailed.
QuickBooks Online
Section titled “QuickBooks Online”If you have the “custom transaction numbers” setting enabled in QuickBooks Online, SortScape will try to “guess” the next invoice number based on the invoice number of the last invoice created in QuickBooks.
If invoices created in QuickBooks Online are not getting allocated an invoice number, then turning off the “Custom transaction numbers” setting in QuickBooks Online should fix the problem.
Note - changing this setting won’t update existing invoices but will apply to any invoices you create after disabling custom transaction numbers.
Invoices within SortScape
Section titled “Invoices within SortScape”If you create invoices in SortScape (not in Xero or QuickBooks Online), you set the invoice number when you create the invoice.
SortScape invoice numbers are whole numbers only (for example 147, not WM-2026-147). Letters, dashes, and other characters are not supported on web or in the mobile app.
When you create an invoice, SortScape suggests the next number based on your most recently created invoice (that number plus one). You can override the suggestion with any whole number that hasn’t been used yet. Later invoices will continue from the most recently created invoice’s number.
You can also change the invoice number later by editing the invoice. See Editing an invoice after it has been emailed for when Edit is available.
Numbers are never reused
Section titled “Numbers are never reused”Once a number has been on an invoice, SortScape won’t use it again, even if you delete that invoice or change its number. This keeps each number your customers have seen tied to one invoice. SortScape skips those numbers when it suggests the next one, and if you type one you’ll see a message asking for a different number. Because of this, deleting invoices can leave gaps in your numbering. That’s fine: invoice numbers need to be unique, not continuous.
To fix an invoice you’ve already sent, edit it instead of deleting it and creating a new one. Editing keeps the same number, so your customer isn’t left with two invoices for the same work. If you do delete and recreate an invoice your customer already has, let them know the new number replaces the old one.